Beauty

BEAUTY /// Kelly's Routine


Untitled  Untitled Kelly's Routine

brows // eyes // liner // mascara // blush // lips // polish

During the week, I'm a mascara + lipstick gal, but when it comes down to getting dolled up, these are my go to cosmetics. I've always loved make up and experimenting with different looks, but 90% of the time I just like to keep the look simple and bare. At the top of my favorites list is Erase Paste for eyes by Benefit. Some time last year, our friend Alexandria introduced us to this Erase Paste after an evening of tequila. Changed my world (or at least my make up routine). Of course you should still continue to drink plenty of water and get a good amount of sleep, but if you just can't shake the dark circles or sleepy eyes, give this stuff a shot. It's gold. 

Girls on Film

IMG_9799

IMG_9835

IMG_9856

IMG_9824

Kelly and I had a lot of fun while filming, David is from Australia so you know I liked talking to him even more just to hear that awesome accent. David's salon, THERAPY is located near the Galleria and it's just beautiful! Thank you Tim for asking us to be apart of this! We got our 15 seconds of fame!

CLICK HERE to watch the segment:)


BUTTERFLY CLIP WAVES
  • Have 10+ butterfly clips handy.
  • Spray thermal protector and texture spray in your hair (David uses Kevin Murphy Resort Spray).
  • Grab a small section of hair and lay it over your finger.
  • Clamp the butterfly clip over the hair, over your finger then pull your finger out of the clip leaving the clip in your hair.
  • Put another clip in your hair the same way right under the first clip (and another if your hair is long).
  • After you get a head full of clips, blast your head with the heat from a hair dryer.
  • Allow hair to cool about 10 minutes.
  • Take all of the clips out and tussle with your fingers.
DEEP WAVE CRIMPER
  • Start with a deep wave crimper (similar to a crimper from the 1990s, but with a deeper V formation)
  • Crimp hair all over the head.
  • Allow to cool.
  • Flip your head upside down and tussle with your fingers.
KNOT WAVES
  • Start with thermal protector and texture spray.
  • Grab a small section of hair and tie a knot.
  • Tie another knot directly under the first knot.
  • Tease the end of the hair to keep the knots in place.
  • Continue knotting and teasing until all of your hair is in knots!
  • Heat with a hairdryer and allow to cool for 10 minutes.
  • Take out the knots and toss with your fingers.
  • Apply a styling product to tame.
WAVE CLIPS
  • Start with Kevin Murphy Wave Clips.
  • Clip one clip in a small section of hair.
  • If hair is long, clip another wave clip underneath the first one.
  • When all your hair is clipped, heat with a hair dryer and allow to cool.
  • Remove the clips and toss with your fingers.
David Bamford
Co-Owner/Stylist
www.therapyhairstudio.com

Make Up Mondays With Ginny Lee: Eye Opener

Makeup by Ginny Lee
Welcome to our new mini series 'Makeup Mondays.' We hope to provide helpful information for any lady and her makeup bag. Brandi and I always get small tutorials from Ginny and helpful hints and secrets and we thought it was about time we started sharing the wealth.

Today, Ginny is schooling us in how to achieve a clean, day look for 'open eyes.' I have almond shaped eyes and I know I'm probably doing a lot of things wrong with my makeup because sometimes they just look like two little slits on my face. Melodramatic? Perhaps. If you ever feel like that or just want to toy with a new look, follow the steps below.

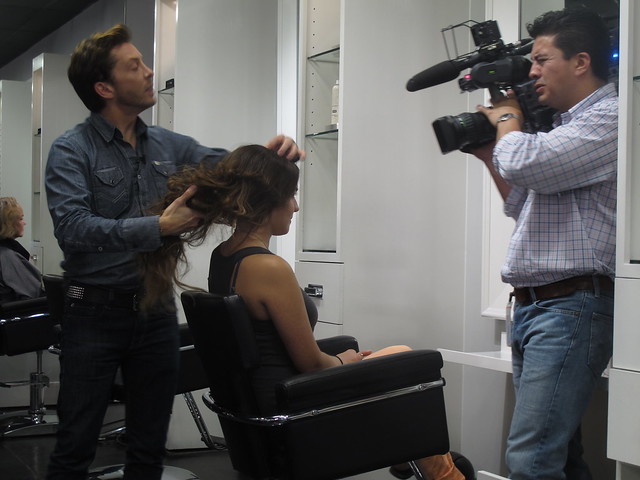
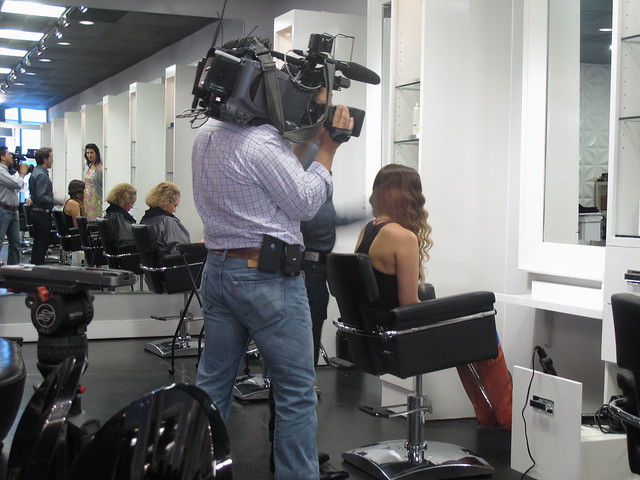
(btw, we will be filming these tutorials from now on... I was just being a bit of a space cadet and grabbed the wrong camera that day)

 Ginny Lee


Ginny Lee
Step 1: Apply eyeshadow primer on whole top lid. It conceals redness, veins, and will allow the eyeshadow's truest color to show. We used MAC Soft Ochre

Ginny Lee

Ginny Lee
Step 2: Apply a nude eyeshadow to whole top lid. We used MAC Brule
Ginny Lee

Ginny Lee
Step 3: Taking a taupe eyeshadow and a crease brush, apply the eyeshadow along the path of the top of your eye socket in a round motion (my eyes are almond so we want to accentuate roundness* as much as possible). We used MAC Omega

*From here on out, every mark that we will be making with a brush with be 'round' with the most weight in the middle.

Ginny Lee
SEE. Once again, we will be doing videos from here on out, but we hope these photos will get you through this first time.

Ginny Lee
Step 4: Apply a medium thick amount of eyeliner. Remember, apply heavy and thicker in the middle and taper off to thin at both corners of the eye. This reinforces the round look.  Then along your bottom lash line, apply gray eyeliner (black if you want a more dramatic or night look).

Once both liners are applied, go back over them with a matching eyeshadow with an eyeliner brush to 'set' liner. This will not only help the liner to last longer, but will also make the colors richer.

If you are new to eyeliner or just not good with it, Qtips will be your BFF at this point.

IMG_7490
 SEE.

Ginny Lee
Step 5: Time to add a little dazzle. Take a pearl white eyeshadow and apply it from the middle of your eye to the inner corner of the eye. Then apply a little to the brow bone, just under your eyebrow where it starts to arch as a highlight. We used MAC Phloof

Ginny Lee
Step 6: Apply white, peach, or nude pencil at the bottom water line of the bottom lid.

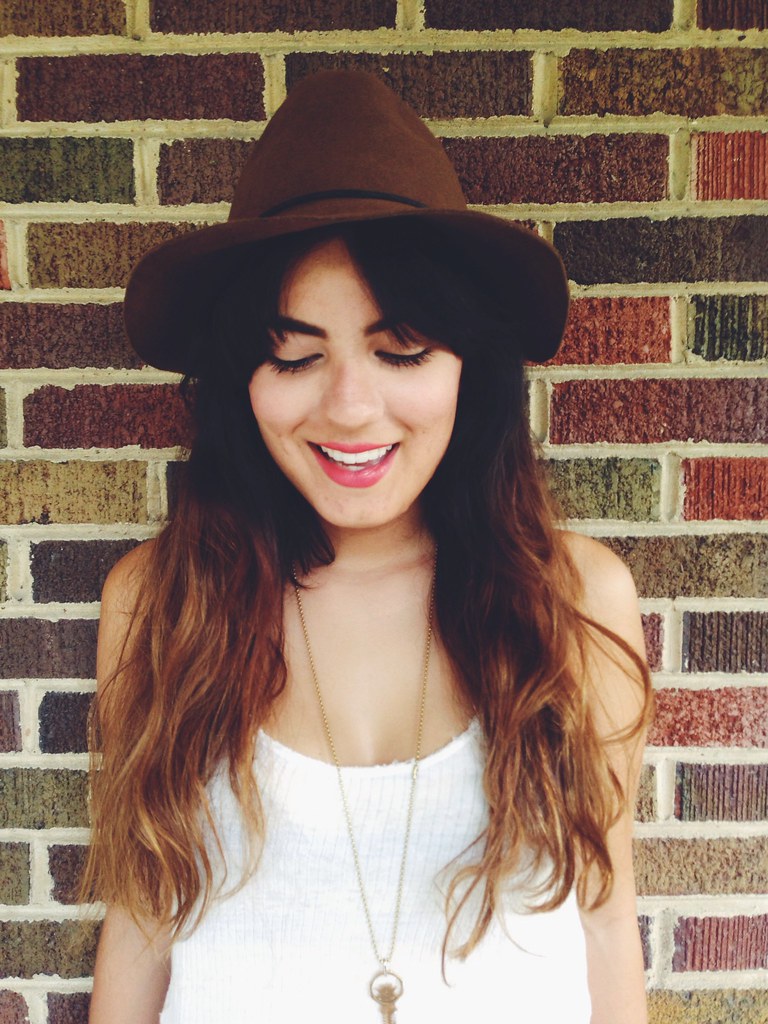
Finish off the look with an eyelash curler and mascara!


Ginny Lee

Ginny Lee
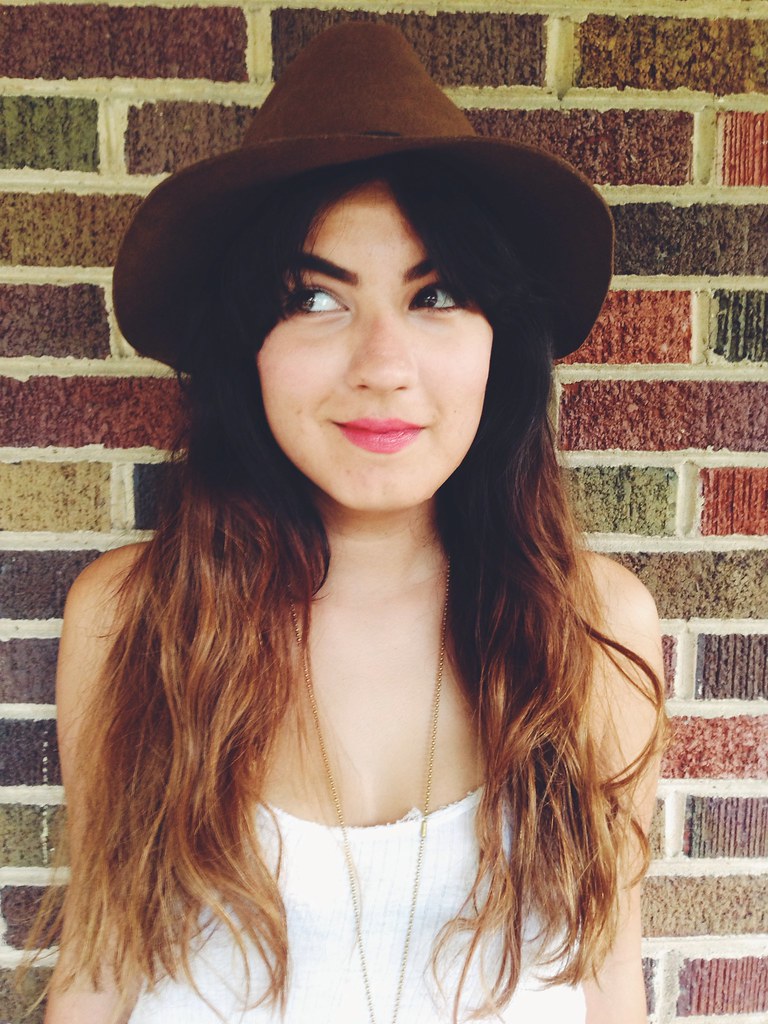
This is me attempting to laugh with my eyes open... I think I just got a bad deal when it comes to my laughing face. ha.

Ginny Lee
If you are going to spend the time on your makeup, please do the same for your hair. It makes all the difference.

Are there any makeup tips+tricks you are having trouble with? Ginny Lee will be back every week!