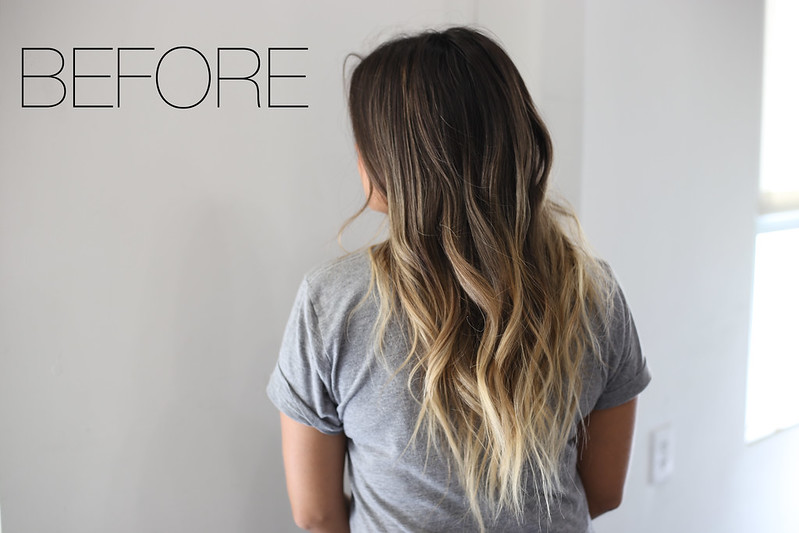
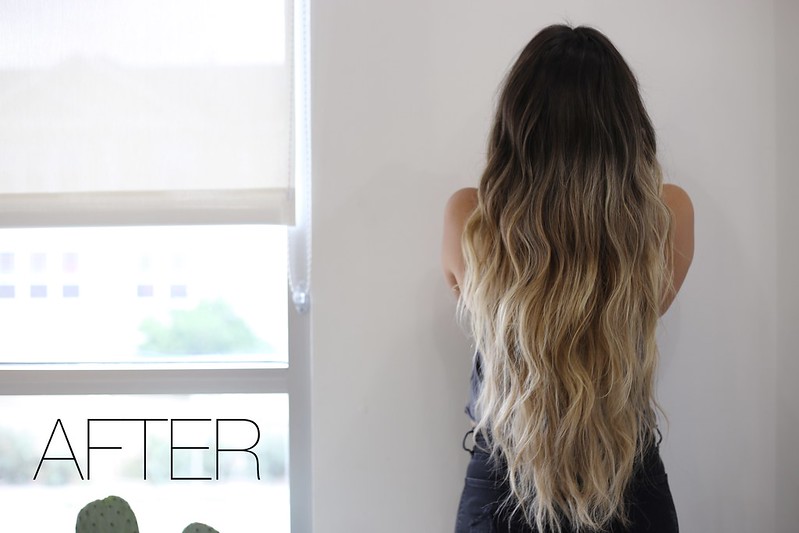
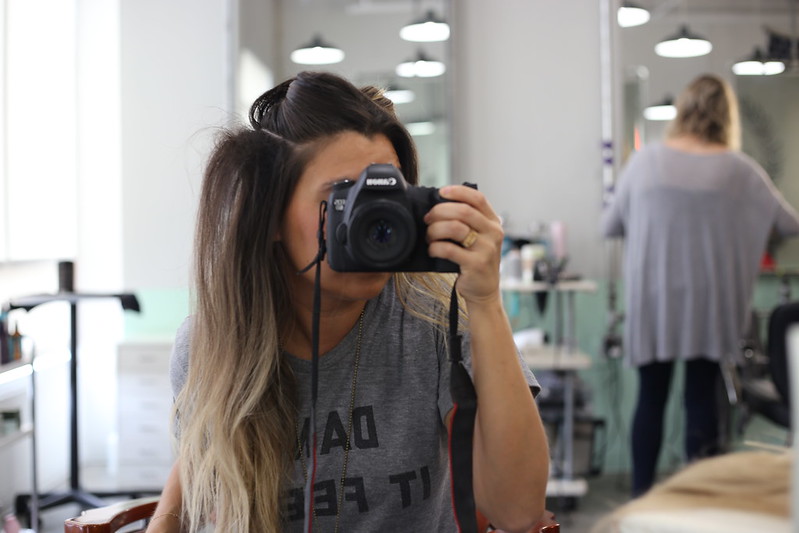
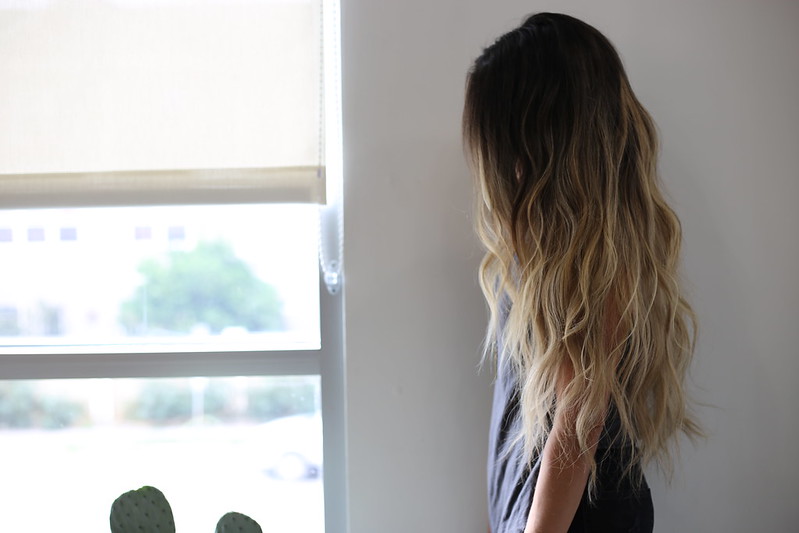
Every girl wants to feel like a mermaid at some point right? Well, if you have been wanting to add length or volume to your mop, extensions are the perfect solution. It can be a huge commitment and if you have commitment issues that can be a problem. The great thing about Irresistible hair extensions is they are clip ins so there is no commitment! Boom! I already have long hair or at least I thought I did until I put these extensions on. The main reason I wanted to try these was to add a lot more volume to my not so voluminous hair. This week I put them on in between clients and I just waited to see if anyone would notice that they were fake and you know what? No one did. I had a lot of guy clients say they never realized how long my hair actually was. A few clients from other stylists also commented on the length of my hair and asked how it was so healthy being this long. Mission accomplished. I felt like a mermaid and they matched my ombre perfectly.

HAIR- TO ///
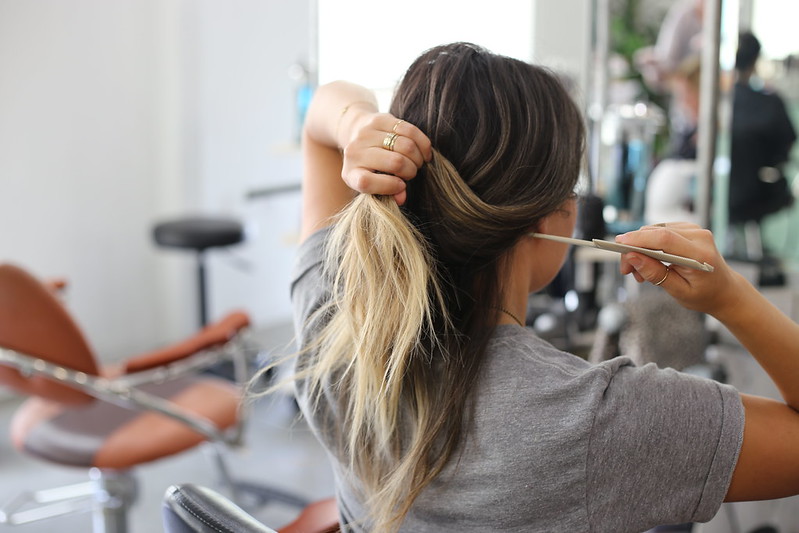
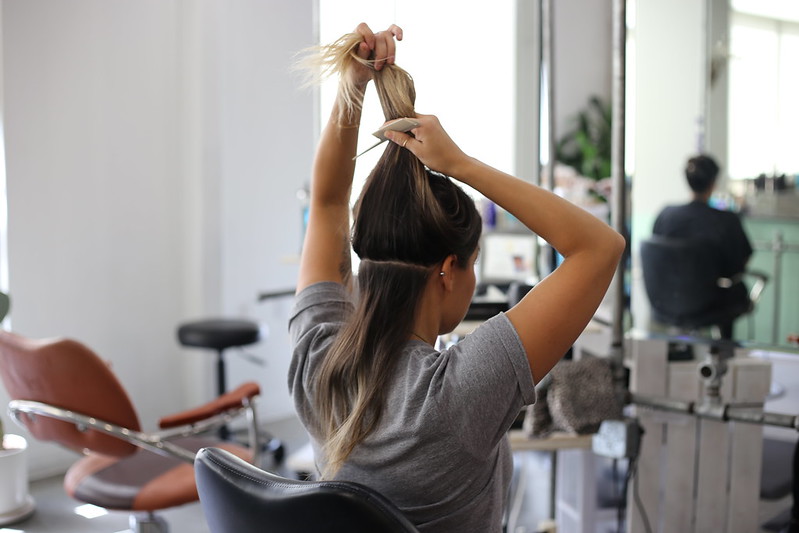
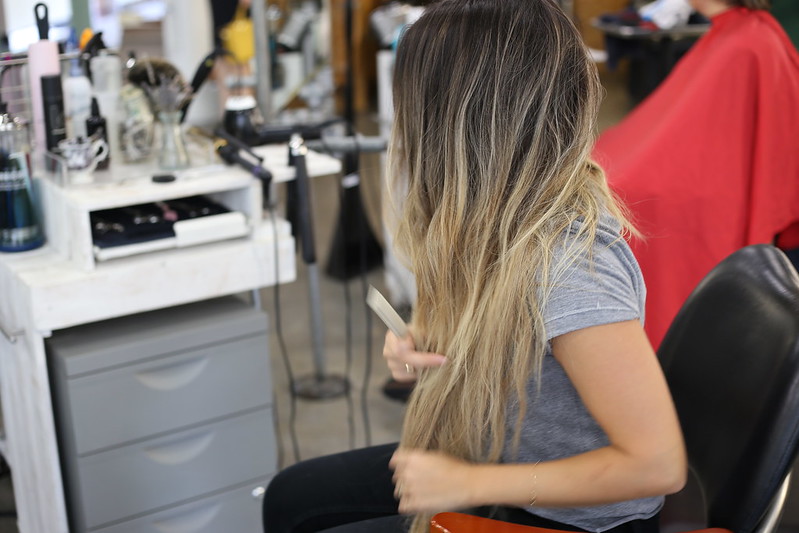
-Brush out hair
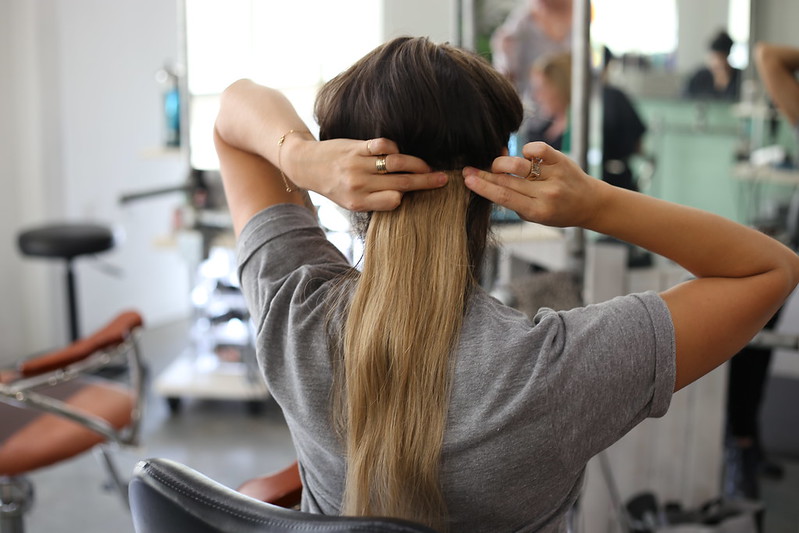
-Using Kevin Murphy's tail comb section hair with a clean part (first section 1-3 inches from the nape of the neck)
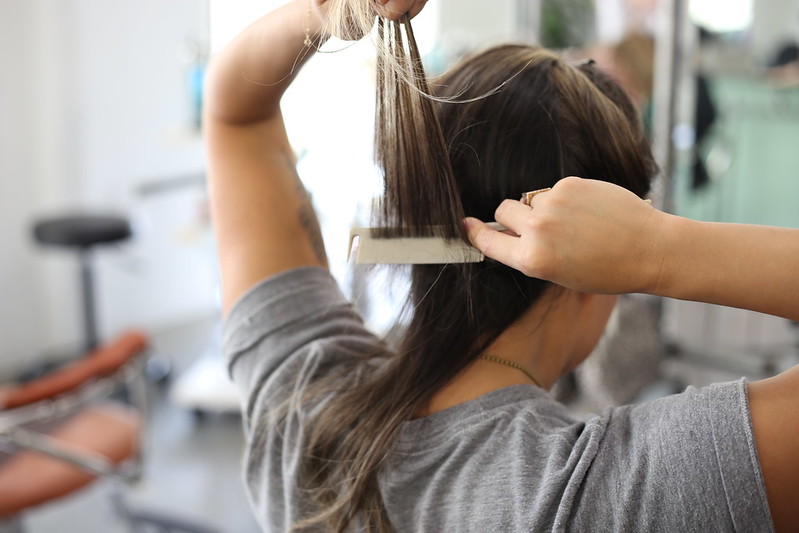
-Tease / Backcomb at the part
-Slide clips firmly in the teased sections and clip
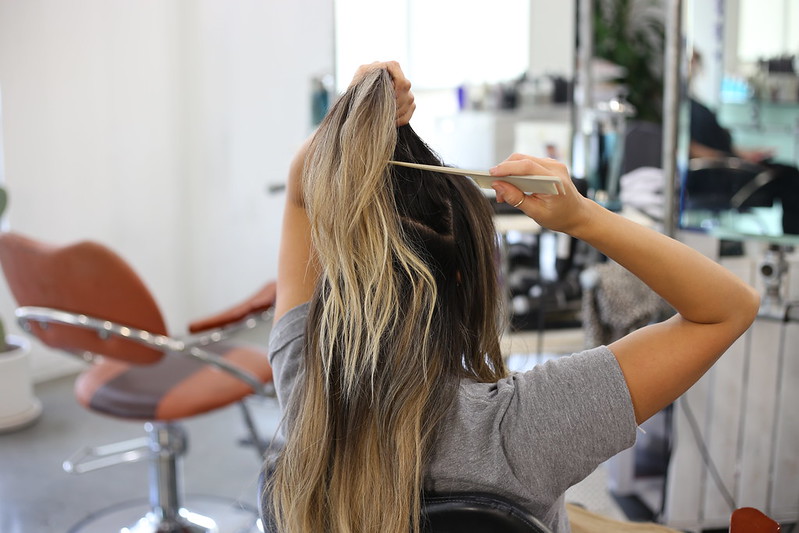
-Lay sectioned hair down over the extension
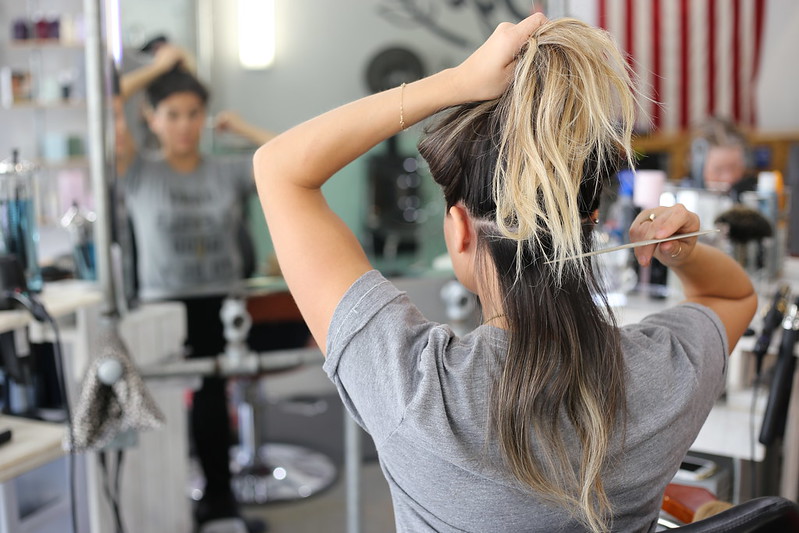
-Take another section (top of the ear to ear) clip up, tease at the root, clip
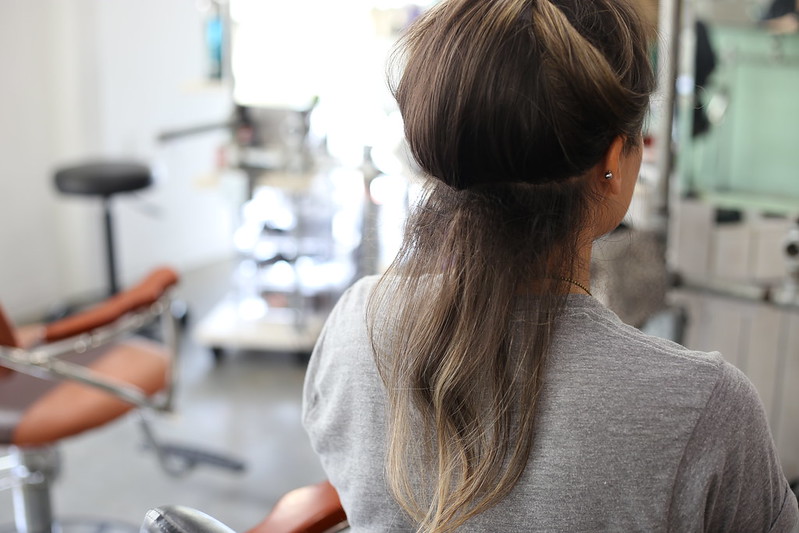
-Don't go too high up on the head because you do not want people to see your tracks
-When you put the smaller sections around face you also don't want to see the tracks
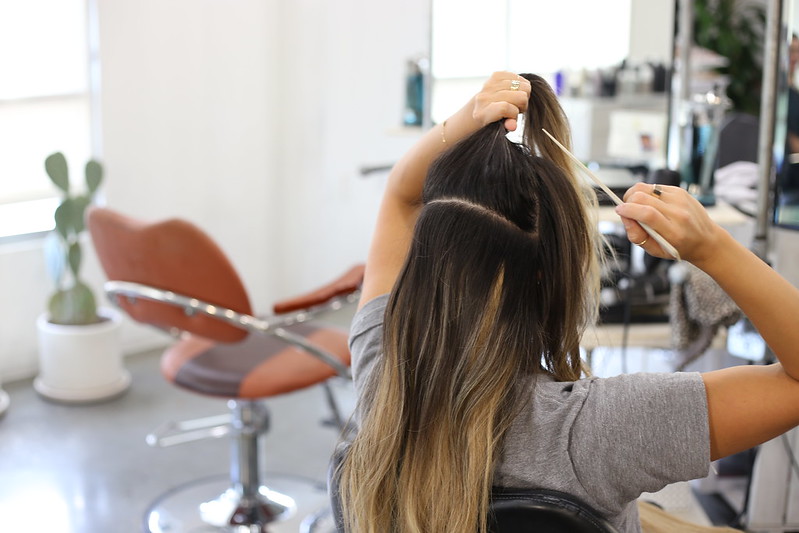
-From the top of the ear go and inch or two up and make a clean part, tease, clip extensions in (1 inch away from hairline)
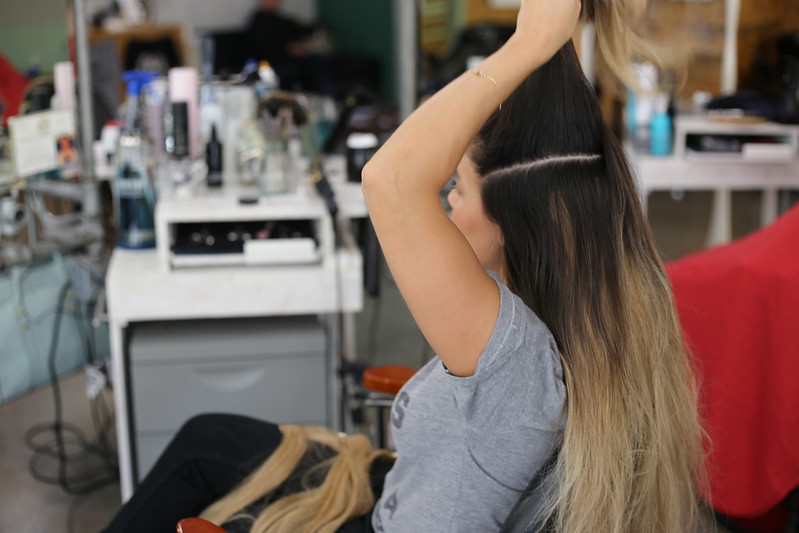
-Tease remaining sections and start smoothing top layer of hair so no tracks are visible.
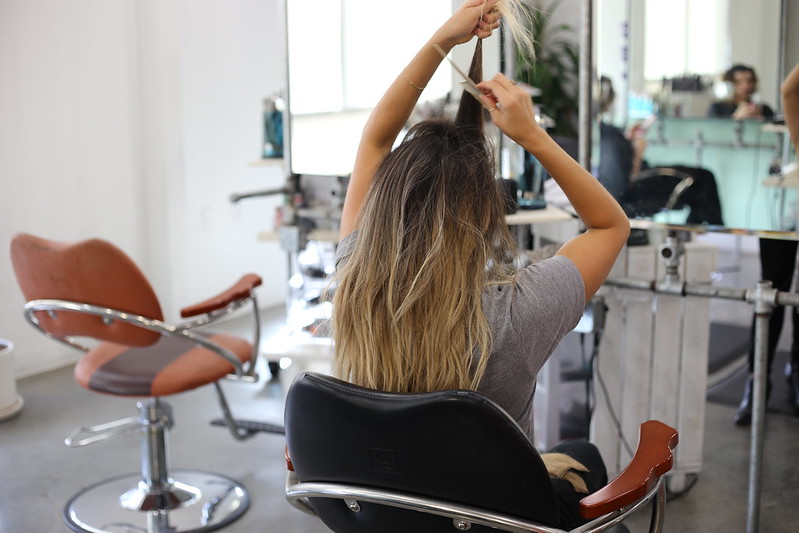
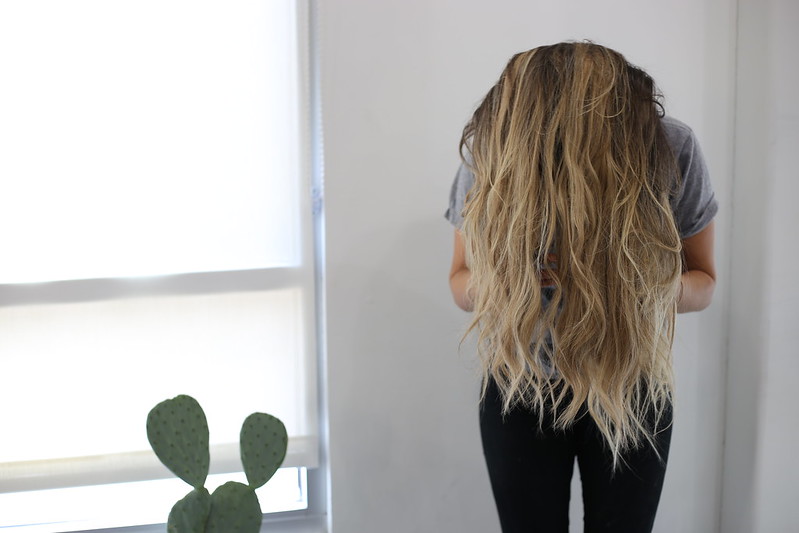
-If you want beach waves, spray a heat protectant in hair and begin curling hair with styling rod.
-Comb through using a Kevin Murphy Texture comb and flip your hair so it's not too perfect looking
-Spray shimmer shine to complete this look.
TOOLS USED ///
Wet Brush
TAIL.COMB
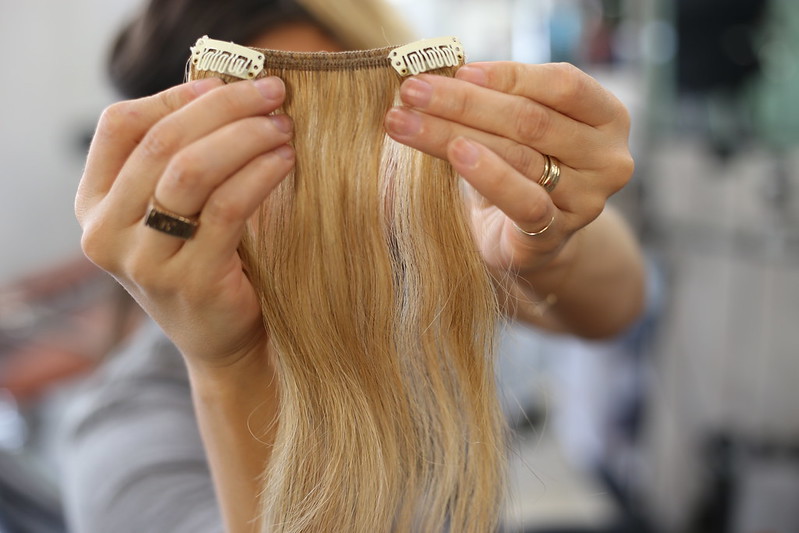
Clips
Irresistible Me Hair extensions
TEXTURE.COMB
SMOOTHING.BRUSH
Paul Mitchell Neuro Unclipped Styling Rod
PRODUCTS USED ///
UN.TANGLED
YOUNG.AGAIN
DAMAGE.MANAGER
HAIR.RESORT.SPRAY
EASY.RIDER
SHIMMER.SHINE